| General Info | How to Fish | Where to Fish | What's this Fish | Who's Fishing | ||
| handline fishing | ||||||
|
Misc Guides :: Tamban Jigging ::
Part II: Tying your own tamban hooksOn to tying the rig. First, we need to get these things ready:
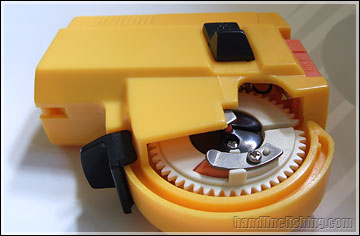
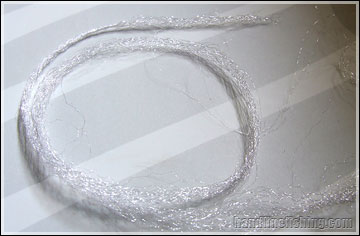
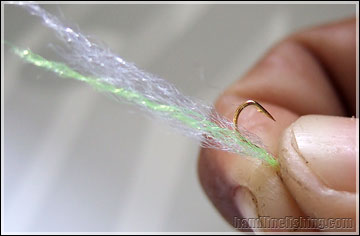
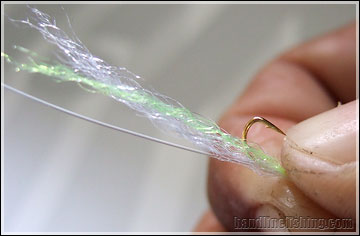
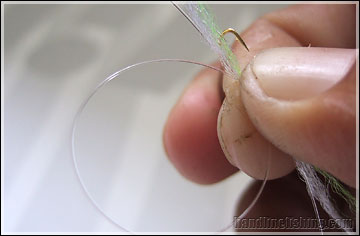
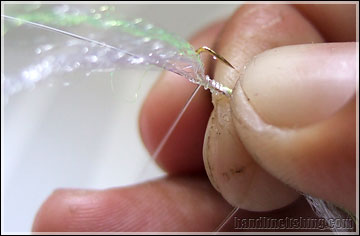
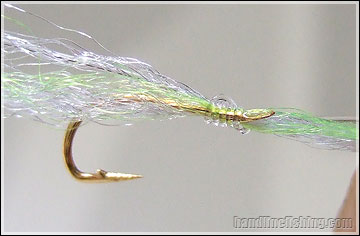
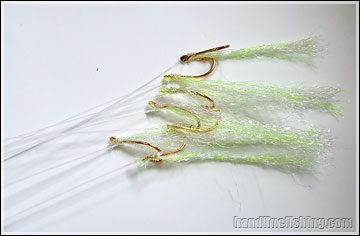
Step 1: Making the branches Draw out a length of about 30 cm of feathers composing several strands (~30). Twist one end such that the strands hold together as shown in fig 1.2. Hold feather against the shank of a hook, leaving ~3-4cm of fibres from its end to the base of the hook(fig 1.3). While still holding the fibres and hook together, place one end of the dupont line against the hook shank and fibres, leaving about 6-7cm from line tip to hook base(fig 1.4). Form a loop as shown in fig 1.5 and coil it round the shank shown in fig 1.6. Tighten the line by pulling the open ends as shown in figure 1.7. Slide down the knot to the base of the hook and tighten it again if necessary. It is very important that the snelling is done correctly. Now, cut off the remaining line of side A. Leave about 10cm of line down from hook base and cut the rest. Then cut the excess feathers at the base of the hook. Repeat step 1 for all 7 seven hook until you have all the feathers tied to the hooks as shown in fig 1.8. (There are gadgets available at tackleshop that does this step with limited level of automation. It easier on the hands but not necessarily faster.) Hook tying gadget (optional)
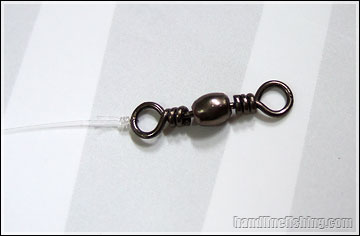
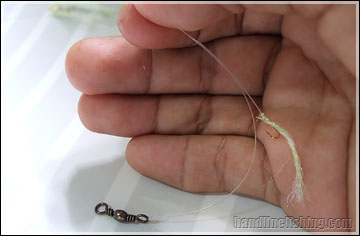
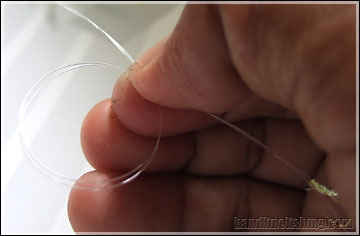
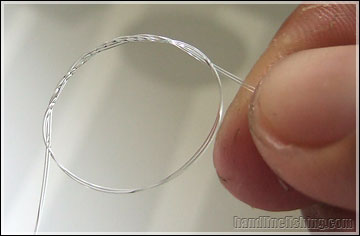
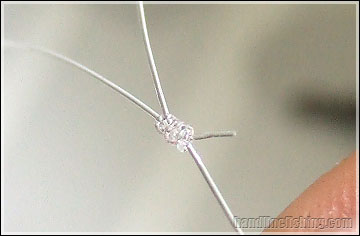
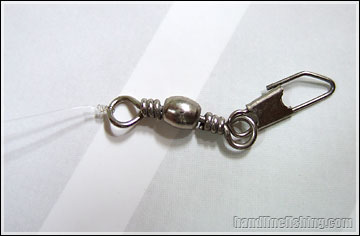
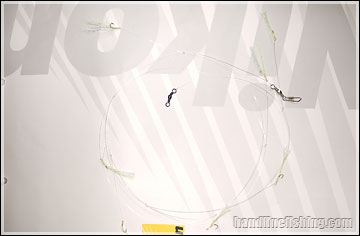
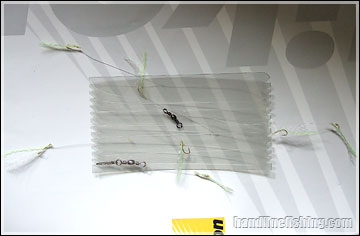
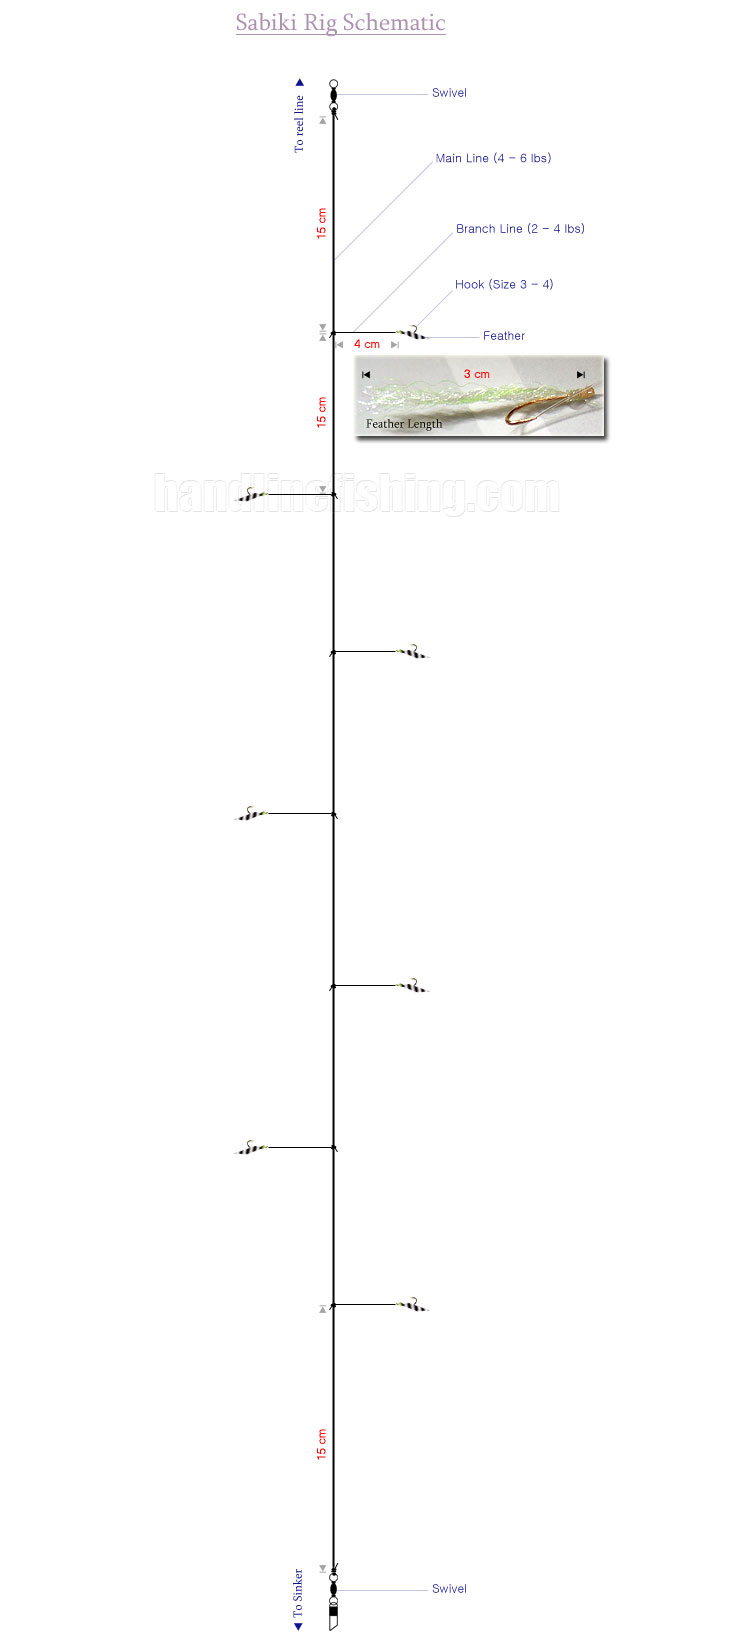
Step 2: Tying the branches to the mainline Cut a length of dupont line of a full arm span or ~5 ft. Get a swivel and tie it to one end of the line as shown in fig 2.1. Now get one hook (with feather and line we've tied to previously) and place it against the mainline with the hook position towards the swivel, with fingers holding the two lines together approximately 15 cm from the swivel (fig 2.2). Holding the hook line and mainline together, form a loop and wind them over 3 times as shown in fig 2.3 & 2.4. Tighten the knot such that it leaves about 4cm from the hook to the newly formed knot (See schematic diagram). Repeat step 2 until all the hooks are tied to the mainline, having ~15cm from knot to knot. When all 7 hooks are attached to the mainline, leave another 15cm and tie a snap swivel to its end. Cut the remaining line. The tamban rig should now be complete like in fig 2.7. You may want to coil the rig onto a piece of small cardboard so that it does not get entangled (fig 2.8). Then place it in a plastic bag/or your rig bag so that the hooks are not exposed.
The above is just one of the many ways to go about tying your own tamban rigs. Try and use your own ways in tying them to make them more effective or easier to tie. Part of fun in fishing is devising ways to find more effective ways to catch fish. Here are some parameters you can try changing to your own tamban hooks:
|
| Copyright © handlinefishing.com |
| General Info: News & Articles :: Lunar Tides :: Resource :: About Site |
| How to Fish: Basics & Concepts :: Types of Fishing :: Specific Guides :: Knots & Rigs |
| Where to Fish: Shores & Jetties :: Reservoirs & Streams :: Offshore Islands :: Pay Ponds |
| What's this Fish: Freshwater :: Marine :: Fish Facts :: Other Aquatic Life |
| Who's Fishing: Chat Room :: Tackles Directory :: Offshore Fishing :: Discussion Forums |