| General Info | How to Fish | Where to Fish | What's this Fish | Who's Fishing | ||
| handline fishing | ||||||
|
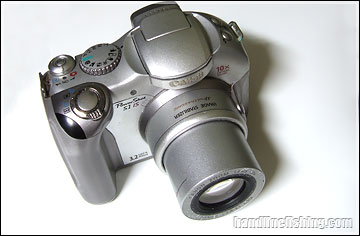
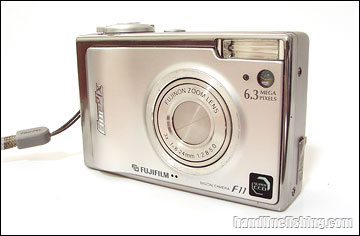
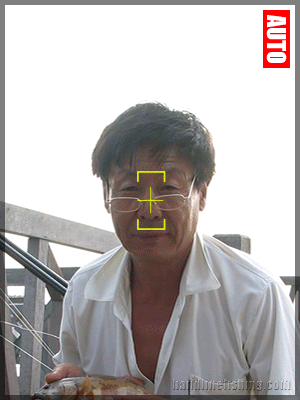
How to Fish :: Misc Guides :: Photography :: Point and Shoot - When in doubt, use AUTO!All digital cameras today comes with an automatic mode which enables user to operate a camera without understanding about light and optics control. It really is a useful mode no matter how many photographers advise you against using it. Auto mode is simply a program that decides all the settings in the camera in order to produce a sharpest image possible. The drawback of auto mode is that it cannot successfully decide the best setting for every scene it encounters. Ths is where manual controls become useful but it requires the photographer to understand a little more about the nature of light and how a camera works. So if you don't intend to learn more about the camera, it's perfectly fine sticking with auto mode. Holding the camera Holding the camera right is essential to getting clear and sharp pictures. A comfortable and steady grip on the camera can minimize handshake that may ruin a picture. There are typically two types of camera shapes; one is the SLR-like which has a big body and the other is compact form like a slim rectangular box.
For SLR-like cameras, there are typically two ways to hold it depending whether you are using the viewfinder or LCD to preview the shot. If you are using viewfinder, place the on your left palm and grip the lens barrel with your left thumb and index(and middle) finger. Using your right hand, grip the camera body on its right, placing your right index finger on the shutter release button and your thumb resting comfortably behind the camera. Hold the camera firmly and arms close to your body with rear of camera touching nose for additional stability. If you are using LCD screen to shoot (whether for SLR or compact cameras), support the camera at its bottom using your left thumb and left index and/or middle finger on the top of the camera. Your right index finger should be positioned at the shutter button while the right thumb is resting behind the camera. Extend your arms out with elbows bent at about 90 degrees angle or at your own comfortable angle. Here's some general steps in taking a photograph using a digital camera:
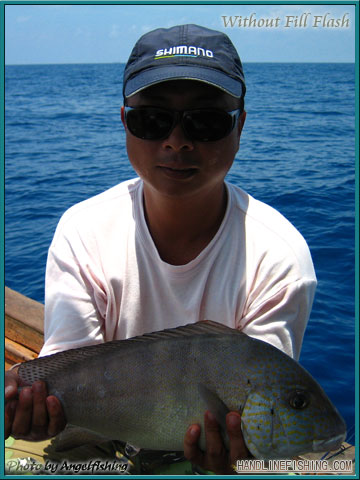
Some Tips/Precaution when taking pictures Where's some short tips that you may find it useful when taking pictures during your fishing trip.
Video functions Most digital cameras today have video recording functions. It saves one the hassle to bring along an additional camcorder to take some short clips of the exciting fishing scenes. The video capability on a digital camera is usually not comparable to that of true camcorders but they're decent for viewing on computers and TV. To take a video, you simply switch to the video mode on the camera and press the shutter button to start recording. The recording is pretty much automatic so there's not much to control except to keep the subject in frame. Some cameras allow zooming while recording, which is a plus.
Care for Cameras Cameras can be a rather fragile piece of equipment and should be handled with care. Dropping it on hard ground from table height can easily break it. Keep the camera in a bag or pouch for extra protection when carrying it around. A wrist strap may be used if you're keeping the camera on hand for a long time. When using it wet areas, becareful not to get water on the camera lens and other parts of the camera body. If water gets splashed on the camera, it should be cleaned immediately with a dry cloth. Special care must be taken when cleaning the lens; a microfiber cloth should be used to clean the lens. Normal cloth can may scratch or damage the lens. When not in use, cameras should be kept in a dry and cool area. Batteries should be removed if the camera is not going to be used over a long period, ie. more than two weeks. created 20th june 07 |
| General Info: News & Articles :: Lunar Tides :: Resource :: About Site |
| How to Fish: Quick
Start :: Handlining :: Rods & Reels :: Miscellaneous Guides |
| Where to Fish: Shores & Jetties :: Reservoirs & Streams :: Offshore Islands :: Pay Ponds |
| What's this Fish: Freshwater :: Marine :: Fish Facts :: Other Aquatic Life |
| Who's Fishing: Chat Room :: Tackles Directory :: Offshore Fishing :: Discussion Forums |
;)
;)
;)
;)